Classic Bakes: The Art of Crust Making
Have you ever taken a bite of a flaky pie crust and thought, “How do they make it so perfect?” The art of crust making is a skill every home baker can master. Whether it’s for pies, tarts, or quiches, a good crust can elevate your dish from ordinary to extraordinary.
In this guide, well explore the ins and outs of crust making. From the basics to advanced techniques, youll learn how to create the perfect crust every time. Let’s dive in!
Why Is Crust Important?
A crust serves as the foundation of many baked goods. It’s not just a shell; it adds flavor and texture. A well-made crust can balance the sweetness of a pie or the richness of a quiche. In short, it matters a lot!
Statistics show that a great crust can enhance your overall baking satisfaction. According to a survey, 85% of people consider the crust the best part of a pie. So, lets make it count!
What Are the Basic Ingredients for a Perfect Crust?
Making a crust is simple, but it requires the right ingredients. Here are the key players:
- Flour: All-purpose flour is a popular choice. It gives structure.
- Fat: Butter is a classic for flavor, while shortening can make it flakier.
- Water: Cold water helps bind the dough without melting the fat.
- Salt: A pinch enhances flavor.
These four ingredients form the basis of most crusts. However, you can experiment with variations like whole wheat flour for a nuttier taste or olive oil for a unique richness.
How Do You Make the Dough?
Making dough is a straightforward process. Heres a simple method:
- In a bowl, mix flour and salt.
- Add chilled, cubed butter and cut it in with a pastry cutter or fork until the mixture resembles coarse crumbs.
- Slowly add ice-cold water, one tablespoon at a time, mixing until the dough holds together.
- Form a disk, wrap it in plastic, and refrigerate for at least one hour.
Chilling the dough is crucial. It helps the fat solidify, leading to a flakier crust. Plus, it makes the dough easier to roll out.
What Are Common Mistakes When Making Crust?
Even seasoned bakers make mistakes. Here are some common pitfalls to avoid:
- Overworking the dough: This can lead to a tough crust. Handle it gently.
- Not chilling the dough: Skipping this step can make rolling difficult and affect the texture.
- Using warm ingredients: Warm butter or water can lead to a greasy crust.
Keep these in mind as you bake. They can make a big difference in your final product!
How Do You Roll Out the Dough?
Rolling out dough can be tricky, but practice makes perfect. Heres how to do it right:
- Lightly flour your work surface and rolling pin.
- Place the chilled dough between two pieces of parchment paper to prevent sticking.
- Roll from the center outward, applying even pressure.
- Rotate the dough often to maintain a circular shape.
don’t rush this step! Taking your time ensures an even thickness, which is key for even baking.
What Are the Different Types of Crusts?
There are many types of crusts, each with its own charm. Here are a few popular ones:
- Classic Pie Crust: Flaky and buttery, perfect for fruit pies.
- Shortcrust Pastry: A crumbly texture ideal for tarts.
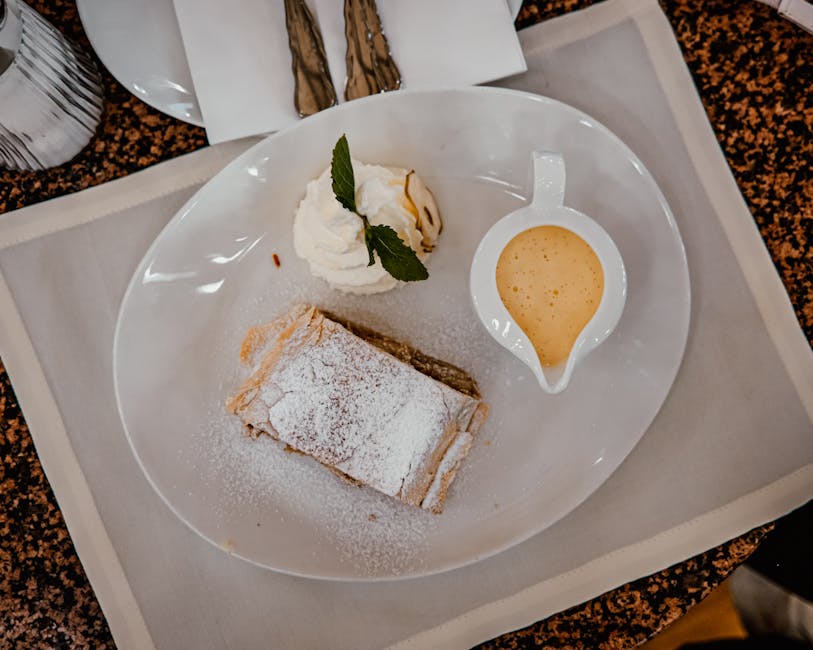
- Phyllo Dough: Thin layers that create a crispy and light crust.
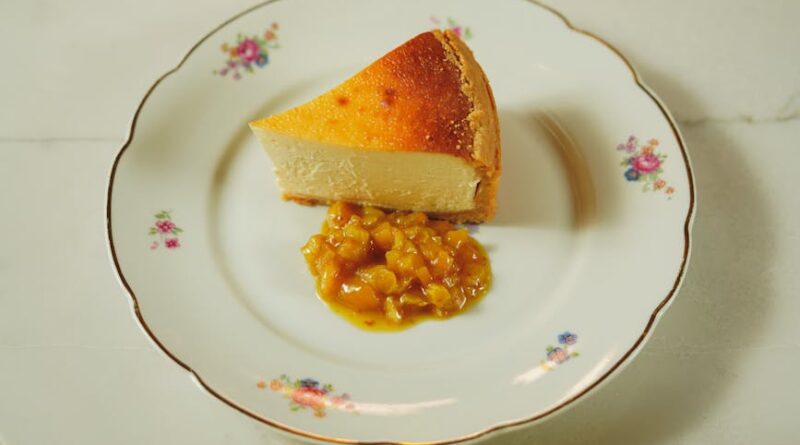
- Graham Cracker Crust: Sweet and easy, great for cheesecakes.
Each type of crust brings a unique flavor and texture to your dish, so choose based on your recipe!
When Should You Pre-Bake the Crust?
Pre-baking, or blind baking, is crucial for some recipes. But when should you do it? Here are some guidelines:
- Fruit Pies: Pre-bake if your filling is juicy.
- Cream Pies: Always pre-bake to avoid a soggy bottom.
- Custard Pies: it’s best to pre-bake for a firmer texture.
To pre-bake, simply line your dough with parchment and fill with pie weights or dried beans. Bake at 350F for about 15 minutes, then remove the weights and bake for an additional 5-10 minutes until golden brown.
How Do You Store Leftover Crust?
If you have leftover dough, you can store it for later use. Heres how:
- Refrigerator: Wrap tightly in plastic and store for up to three days.
- Freezer: Wrap in plastic and aluminum foil for up to three months.
When you’re ready to use it, thaw in the fridge overnight for the best results. This allows the fat to soften while keeping it cool.
What Are Some Tips from the Experts?
Here are some insights from professional bakers to help you on your journey:
Use cold ingredients. The colder the fat, the flakier the crust! – Nancy Silverton, renowned baker.
don’t be afraid to experiment with flavors. Add herbs or spices to your dough for something special. – Eric Lanlard, pastry chef.
These tips can inspire you to get creative in the kitchen!
What Are the Best Crust Recipes to Try?
Ready to get baking? Here are a couple of classic recipes you can try:
Basic Pie Crust
Ingredients:
- 2 cups all-purpose flour
- 1 cup unsalted butter, chilled and cubed
- 1 tsp salt
- 6-8 tbsp ice water
Instructions:
- Combine flour and salt in a bowl.
- Add butter and mix until crumbly.
- Stir in ice water until dough forms.
- Chill, roll out, and bake as needed.
Graham Cracker Crust
Ingredients:
- 1 cups graham cracker crumbs
- cup sugar
- cup butter, melted
Instructions:
- Mix crumbs, sugar, and melted butter.
- Press into a pie pan.
- Bake at 350F for 8-10 minutes.
These recipes are perfect for any baking occasion!
How Can You Master Crust Making?
Mastering the art of crust making takes practice. Here are some practical takeaways:
- Always use cold ingredients.
- don’t rush the chilling process.
- Experiment with different flavors.
- Learn from your mistakes and keep trying!
With these tips, youll be well on your way to making delicious, flaky crusts that will impress your friends and family.
Ready to Bake Your Perfect Crust?
Now that you know the art of crust making, it’s time to put your skills to the test. Gather your ingredients and start practicing. Remember, every great baker was once a beginner. Enjoy the process and don’t be afraid to have some fun!
For more baking inspiration, check out our related post on baking techniques. Happy baking!
In conclusion, the art of crust making is a rewarding skill that can enhance your baking game. With practice, youll easily create delicious crusts that will make any dish shine.